
needlepoint stitch guide
Needlepoint Stitch Guide: An Overview
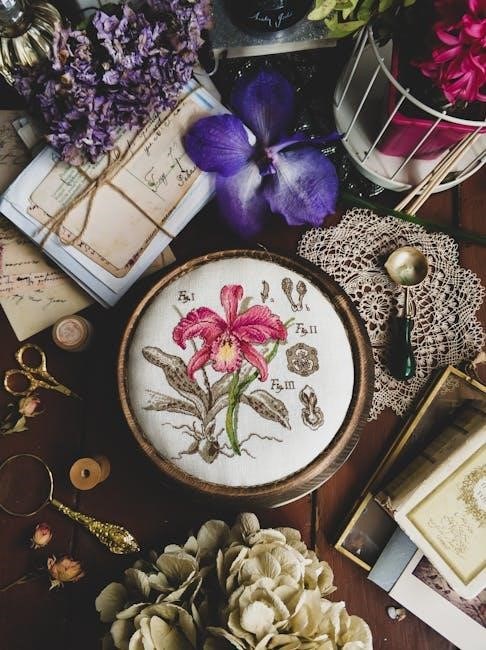
Needlepoint, a captivating hand embroidery, utilizes yarn on open-weave canvas, creating beautiful designs. Explore foundational stitches like Tent, Continental, and Basketweave.
Discover intermediate techniques – Waffle, Rhodes, and Scotch – alongside decorative options such as Bargello and Cross Stitch. Advanced methods include Bound Cross and Balloon Stitch.
This guide unveils a diverse library of stitches, offering tutorials and resources for both beginners and experienced crafters, enhancing your needlepoint journey.
Needlepoint, a timeless and rewarding craft, involves creating designs on an open-weave canvas using yarn. Often described as painting with wool, it’s a versatile art form suitable for various projects, from decorative pillows and wall hangings to personalized accessories. Unlike cross-stitch, which typically covers individual squares, needlepoint stitches fill the entire canvas area, resulting in a richer, more textured appearance.
Historically, needlepoint has roots in ancient civilizations, evolving over centuries into the refined technique we know today. The Royal School of Needlework, established in 1872, played a significant role in standardizing and promoting the craft. Modern needlepoint embraces both traditional and contemporary designs, offering endless creative possibilities.
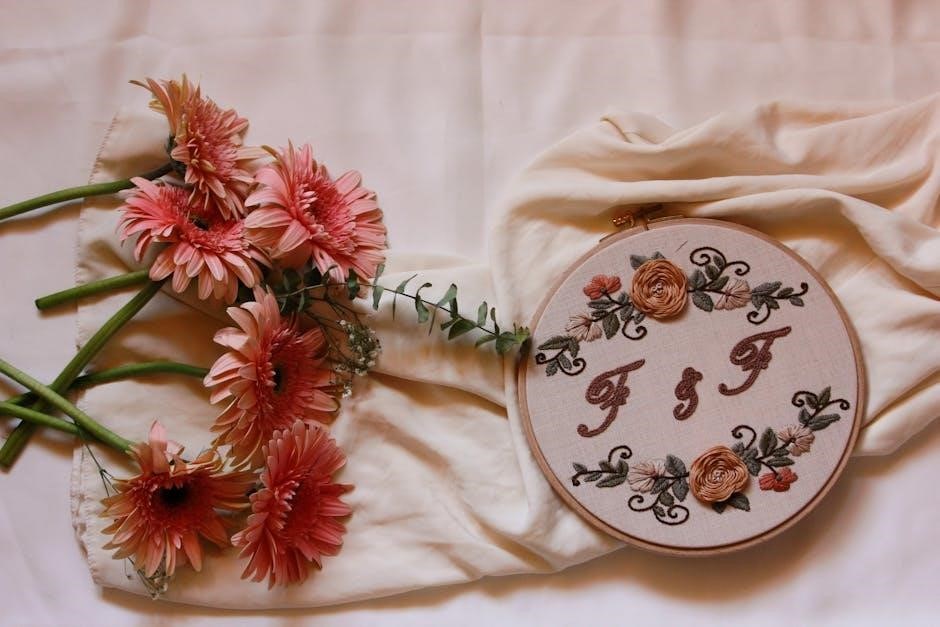
Embroidery, closely related to needlepoint, shares the principle of decorating fabric with thread, allowing for the creation of lines, shapes, and intricate patterns. Whether you’re a beginner or an experienced crafter, needlepoint provides a relaxing and fulfilling outlet for artistic expression. It’s a craft that blends tradition, creativity, and personal style.
Understanding Canvas and Yarn
Canvas forms the foundation of any needlepoint project. Typically made of stiffened, open-weave fabric, it provides the structure for stitches. Canvas comes in various materials – mono canvas (uniform holes), interlock canvas (painted designs), and waste canvas (for freeform designs). The hole count, or threads per inch, determines the stitch size and overall detail of the design.
Yarn selection is equally crucial. Wool is the most traditional choice, offering durability and a classic look. However, silk, cotton, and acrylic yarns are also popular, each providing unique textures and effects. Yarn weight, or thickness, must be compatible with the canvas hole count; finer yarns suit higher hole counts, while thicker yarns work best with coarser canvases.
Understanding yarn ply (number of strands twisted together) and dye lots (color consistency) is essential for achieving a professional finish. Experimenting with different yarn types and weights allows for creative expression and personalized designs, enhancing the overall aesthetic of your needlepoint piece.
Basic Needlepoint Stitches
Mastering foundational stitches unlocks needlepoint creativity. Begin with the Tent Stitch, a versatile base, and explore its variation, the Continental Stitch. The Basketweave Stitch adds diagonal texture.
Tent Stitch: The Foundation
The Tent Stitch reigns supreme as the cornerstone of needlepoint, forming the basis for countless designs and more complex techniques. It’s a simple, yet incredibly versatile stitch, worked by bringing the needle up through one hole of the canvas and down through a diagonally adjacent hole.
This creates a small, tent-like shape – hence the name! Stitching consistently in one direction yields a uniform appearance, while alternating directions creates subtle visual texture. It’s often the first stitch learners master due to its straightforward nature and adaptability.
The Tent Stitch is ideal for covering large areas quickly and efficiently, providing a solid foundation upon which to build more intricate patterns. Its simplicity doesn’t limit its potential; skilled needlepointers utilize variations to achieve diverse effects. Understanding the Tent Stitch is absolutely crucial for any aspiring needlepoint enthusiast.
Continental Stitch: A Variation of Tent Stitch
The Continental Stitch, a graceful variation of the foundational Tent Stitch, offers a slightly different texture and aesthetic. Unlike the Tent Stitch’s diagonal approach, the Continental Stitch is worked in horizontal rows, moving consistently from left to right (or vice versa).
The needle emerges from one hole and descends into a diagonally adjacent hole, but always progressing along the row. This creates a subtly different visual flow, often described as having a more ‘flowing’ or ‘linear’ appearance compared to the Tent Stitch’s more angular form.
Many needlepointers favor the Continental Stitch for its comfortable rhythm and the way it fills the canvas. It’s particularly well-suited for designs where a smoother, less textured surface is desired. While similar to Tent Stitch, mastering Continental Stitch expands your needlepoint toolkit and design possibilities.
Basketweave Stitch: Diagonal Texture
The Basketweave Stitch, a popular and versatile technique, builds upon the foundation of the Tent Stitch, introducing a delightful diagonal texture. This stitch is executed by working rows of diagonal stitches, alternating the direction of each row to create a woven effect resembling a basket’s pattern.
Typically, one row is worked from left to right, and the subsequent row from right to left. This alternating diagonal approach is what gives the stitch its characteristic ‘woven’ appearance and subtle visual depth. It’s considered a relatively easy stitch to learn, making it ideal for beginners.
The Basketweave Stitch is frequently chosen for its ability to provide a textured background or to highlight specific design elements. It’s a staple in many needlepoint projects, offering both aesthetic appeal and structural integrity to the finished piece.
Intermediate Needlepoint Stitches
Elevate your skills with stitches like Waffle, Rhodes, and Scotch! These techniques introduce more complex textures and patterns, building upon basic foundations.
Explore raised designs and geometric possibilities, adding depth and visual interest to your needlepoint projects with these exciting options.
Waffle Stitch: Creating a Grid Pattern
The Waffle Stitch is a delightful intermediate technique that produces a distinctive, textured surface resembling a waffle – hence its name! This stitch builds upon the foundation of the Tent Stitch, but introduces a clever variation to create a beautiful grid-like pattern across your canvas.
To execute the Waffle Stitch, you work rows of Tent Stitch, but instead of completing each stitch individually, you leave small spaces between them. Subsequent rows are then worked in the opposite direction, filling in those spaces, resulting in a series of small squares or “waffles”.
This stitch is particularly effective for designs where you want to emphasize texture and create a visually interesting background. It’s a fantastic choice for modern or geometric designs, and can add a subtle yet sophisticated touch to your needlepoint projects. The resulting fabric has a lovely drape and a unique tactile quality, making it a rewarding stitch to master.
Experiment with different yarn weights and colors to further enhance the waffle effect and personalize your creations!
Rhodes Stitch: Raised and Textured
Rhodes Stitch, a captivating intermediate technique, is celebrated for its raised and wonderfully textured appearance. Originating from ancient designs, this stitch adds significant dimension to your needlepoint canvas, creating a visually striking effect. It’s a fantastic choice for floral motifs, geometric patterns, or any design where you want to emphasize depth and tactile interest.
The stitch is worked in a diagonal direction, creating small, upright stitches that stand proud of the canvas surface. Typically, Rhodes Stitch is executed in a square or rectangular pattern, though variations exist. The key to achieving the raised effect lies in the consistent tension and careful placement of each stitch.
Rhodes Stitch is often used to highlight specific elements within a larger design, drawing the eye and adding a touch of elegance. It’s a versatile stitch that can be adapted to suit a wide range of styles and projects, offering a unique and sophisticated finish.
Experiment with different yarn weights to control the height and prominence of the texture!
Scotch Stitch: Geometric Design
Scotch Stitch is an intermediate needlepoint technique renowned for creating structured, geometric patterns with a distinctive visual appeal. This stitch excels at forming crisp lines and defined shapes, making it ideal for modern designs, borders, or any project requiring a precise and architectural aesthetic;
The stitch involves working diagonal stitches in a repeating pattern, typically forming a series of interlocking ‘V’ shapes. This creates a textured surface with a clear, geometric rhythm. The consistent angle and spacing of the stitches are crucial for achieving a polished and professional look.
Scotch Stitch is particularly effective when using contrasting yarn colors to accentuate the geometric design. It’s a versatile stitch that can be adapted to create various patterns, from simple stripes to complex tessellations. It adds a sophisticated touch to any needlepoint project.
Consider using a slightly heavier yarn weight to enhance the stitch’s defined structure!
Decorative & Specialty Stitches
Decorative stitches elevate needlepoint projects! Explore Bargello’s Florentine influence, classic Cross Stitch embellishments, and Back Stitch for outlining intricate details and adding refined finishing touches.
Bargello Stitch: Florentine Embroidery Influence
Bargello stitch, deeply rooted in the Florentine embroidery tradition of 17th-century Italy, brings a vibrant and dynamic texture to needlepoint. This technique isn’t a single stitch, but rather a method of using upright stitches – often variations of the Florentine stitch – in repeating patterns to create bold, wave-like designs.
Characterized by its striking color changes and geometric motifs, Bargello excels at depicting floral patterns, abstract designs, and even figurative elements. The key lies in carefully planning the color progression and stitch direction to achieve the desired visual effect. Unlike many needlepoint stitches that aim for a flat surface, Bargello intentionally creates raised areas and shadows, adding depth and dimension.
Working with Bargello requires a bit more planning than simpler stitches, as the stitch length and color placement are crucial. However, the resulting impact – a richly textured and visually stunning piece – is well worth the effort. It’s a fantastic way to showcase creativity and add a touch of historical elegance to your needlepoint projects.
Cross Stitch: Classic Embellishment
Cross stitch, a timeless and universally recognized embroidery technique, offers a delightful way to embellish needlepoint canvases. Forming an “X” shape, this stitch is created by making two diagonal stitches that intersect each other. It’s incredibly versatile, lending itself to both simple and intricate designs, from delicate floral motifs to bold geometric patterns.
While often used for creating detailed pictures, cross stitch in needlepoint frequently serves as an accent, adding pops of color and texture to larger designs. It’s particularly effective for outlining shapes, highlighting specific areas, or creating small, decorative elements. The stitch count determines the level of detail achievable, allowing for both pixelated and smooth appearances.
Cross stitch can be worked in full stitches, half stitches, or even fractional stitches for shading and blending. Its adaptability makes it a favorite among needlepointers seeking to add a classic touch and refined detail to their creations.
Back Stitch: Outlining and Detail
Back stitch is a fundamental needlepoint technique renowned for its precision and ability to create clean, defined lines. This stitch is primarily used for outlining shapes, adding intricate details, and emphasizing specific elements within a design. It’s worked by creating a stitch forward, then bringing the needle back to the end of the previous stitch, resulting in a continuous, solid line.
Unlike some stitches that cover large areas, back stitch excels at providing sharp definition. It’s ideal for lettering, creating delicate floral stems, or highlighting the edges of motifs. The stitch’s inherent strength also makes it suitable for reinforcing weaker areas of the canvas or securing loose threads.
Mastering back stitch allows for greater control and artistic expression in needlepoint. It’s a versatile tool for adding a professional finish and elevating the overall quality of your work, offering a subtle yet impactful enhancement.
Advanced Techniques & Stitches
Explore complex needlepoint artistry with Bound Cross, Balloon, and Alternating Continental stitches. These techniques demand precision, adding secure definition and subtle texture to projects.
Elevate your craft with these challenging yet rewarding stitches, unlocking new creative possibilities and refined design aesthetics.
Bound Cross Stitch: Secure and Defined
Bound Cross Stitch is an advanced needlepoint technique celebrated for its exceptional security and clearly defined appearance. Unlike a standard cross stitch, this method encases each stitch within a bordering thread, effectively ‘binding’ it to the canvas.
The process begins with completing a standard cross stitch. Subsequently, a separate thread is used to wrap around the legs of the cross, creating a neat, contained unit. This wrapping is typically done with a contrasting or complementary color, further emphasizing the stitch’s definition.
This technique is particularly useful for areas requiring strong outlines or intricate details, as it prevents the stitches from loosening or becoming distorted over time. It’s ideal for lettering, small motifs, or any design element needing a crisp, polished look. While more time-consuming than a regular cross stitch, the resulting durability and visual impact make it a worthwhile endeavor for experienced needlepointers seeking a refined finish.
Consider using a thinner yarn for the binding thread to avoid overwhelming the original cross stitch.
Balloon Stitch: Adding Volume
Balloon Stitch is a distinctive needlepoint technique renowned for its ability to create raised, three-dimensional effects, lending significant volume to your designs. This stitch is particularly effective for depicting rounded shapes, such as flowers, fruits, or even whimsical characters.
The technique involves working a series of straight stitches radiating outwards from a central point, resembling the spokes of a wheel. These stitches are then secured with a horizontal or diagonal stitch across the center, ‘ballooning’ the fabric outwards and creating a puffy texture.
Experimenting with different yarn weights and stitch lengths allows for varying degrees of prominence. Thicker yarns and longer stitches yield more substantial volume, while finer yarns and shorter stitches create a more subtle lift. It’s often used in conjunction with other stitches to highlight specific elements within a larger design, adding depth and visual interest.
Careful tension control is crucial to achieve a consistent and well-defined balloon shape.
Alternating Continental Stitch: Subtle Texture
Alternating Continental Stitch offers a refined variation on the classic Continental stitch, introducing a subtle yet captivating texture to your needlepoint projects. Unlike the standard Continental, which works consistently in one direction, this technique alternates the stitch direction with each row, creating a nuanced visual effect.
This alternation results in a slightly broken, less uniform appearance, adding depth and preventing the canvas from looking overly flat. It’s an excellent choice for backgrounds or areas where you desire a gentle, organic texture without overwhelming the overall design.
The stitch is worked diagonally, similar to Continental, but switching the direction – left to right, then right to left – with each subsequent row. This creates a subtle interplay of light and shadow, enhancing the dimensionality of your work. It’s a versatile technique suitable for various designs and yarn weights.
Mastering this stitch provides a beautiful alternative to traditional methods.
Stitch Selection & Considerations
Choosing stitches depends on your design’s complexity and desired texture. Yarn weight significantly impacts stitch compatibility; heavier yarns suit bolder stitches, while finer yarns require delicate techniques.
Choosing Stitches for Different Designs
Selecting the right stitch is crucial for bringing your needlepoint vision to life. For detailed, realistic designs, the Tent Stitch provides a solid foundation, allowing for precise color changes and intricate shading. Geometric patterns thrive with the structured look of Scotch Stitch, creating defined shapes and lines.
If you’re aiming for texture and dimension, consider Rhodes Stitch, which offers a raised effect, or the Basketweave Stitch, known for its diagonal texture. Floral motifs benefit from stitches that allow for curves and flowing lines, like variations of the Tent Stitch or even incorporating delicate Back Stitch for outlining petals.
Larger areas can be efficiently filled with Continental Stitch, while Bargello Stitch is ideal for bold, Florentine-inspired designs. Remember to consider the canvas count; finer canvases require smaller stitches, while coarser canvases can accommodate larger, more impactful stitches. Ultimately, experimentation is key to discovering which stitches best complement your unique design!
Yarn Weight and Stitch Compatibility
Matching yarn weight to your chosen stitch is paramount for a successful needlepoint project. Finer yarns, like silk or fine wool, pair beautifully with detailed stitches such as Tent or Back Stitch on finer canvases, creating intricate designs. Heavier yarns, such as tapestry wool, are better suited for bolder stitches like Basketweave or Rhodes Stitch on coarser canvases.
Using a yarn that’s too heavy for the canvas can distort its shape and make stitching difficult, while a yarn that’s too light may not adequately cover the canvas. Consider the texture you want to achieve; fluffy yarns add volume, while smooth yarns create a refined look.
Always test a small section with your chosen yarn and stitch to ensure compatibility before committing to the entire project. Experimentation is encouraged! Different yarn weights can dramatically alter the appearance of a stitch, allowing you to customize your needlepoint to your exact preferences.
Resources & Further Learning
Expand your skills with online tutorials, comprehensive guides, and inspiring patterns. Explore needlepoint books for detailed stitch instructions and design ideas.
Numerous websites and platforms offer free resources, while dedicated books provide in-depth knowledge for all skill levels, fostering creativity.
Online Tutorials and Guides
The digital realm offers a wealth of resources for needlepoint enthusiasts of all levels. Numerous websites and YouTube channels provide free, step-by-step video tutorials demonstrating various stitches, from the basic Tent Stitch to more complex techniques like Bargello.
These online guides often include close-up views, making it easier to understand the intricacies of each stitch. Many platforms also feature downloadable patterns and stitch diagrams, allowing you to practice and refine your skills.

Dedicated needlepoint blogs and forums serve as vibrant communities where stitchers share tips, troubleshoot challenges, and showcase their projects. Interactive online courses, sometimes offered for a fee, provide structured learning experiences with personalized feedback. Searching for specific stitches, like “Basketweave stitch tutorial” or “Rhodes stitch guide,” will yield a plethora of helpful results, empowering you to master new techniques at your own pace.
Needlepoint Books and Patterns
Beyond the digital world, a rich collection of needlepoint books provides comprehensive guidance and inspiration. These resources often delve into the history of needlepoint, explore diverse stitch techniques, and showcase stunning project ideas. Books frequently include detailed diagrams and photographs, offering a tactile learning experience.
Patterns, available in both printed and digital formats, range from simple motifs to elaborate designs. Many books feature complete pattern collections, categorized by skill level and theme. Specialist shops and online retailers offer a vast selection of patterns, catering to various tastes and preferences.
Vintage needlepoint books can be a treasure trove of unique designs and historical techniques. Exploring these resources allows stitchers to connect with the craft’s heritage and discover forgotten stitches. Combining books with online tutorials provides a well-rounded learning approach, fostering creativity and skill development.