
wheel torque guide
Wheel torque ensures safe vehicle handling by correctly securing lug nuts. Understanding its importance prevents wheel loss, uneven wear, and improves overall driving confidence and daily use performance.
Why Torque Matters
Proper wheel torque is essential because it directly affects vehicle safety, performance, and longevity. When lug nuts are tightened to the manufacturer’s specified torque, the wheel is clamped evenly to the hub, preventing movement that could cause vibration, uneven tire wear, or catastrophic wheel detachment. Insufficient torque allows the wheel to shift under load, leading to brake rotor misalignment, steering instability, and increased stress on suspension components. Conversely, excessive torque compresses the wheel studs, reducing their fatigue life and potentially causing thread stripping or bolt fracture. Accurate torque also ensures the correct preload on the wheel bearing, which maintains bearing lubrication and reduces heat buildup. In addition, consistent torque application simplifies tire rotation and wheel balancing procedures, making routine maintenance more reliable. Ultimately, respecting torque values protects occupants, preserves equipment, and upholds the vehicle’s engineered handling characteristics for daily use.
Basic Concepts and Units
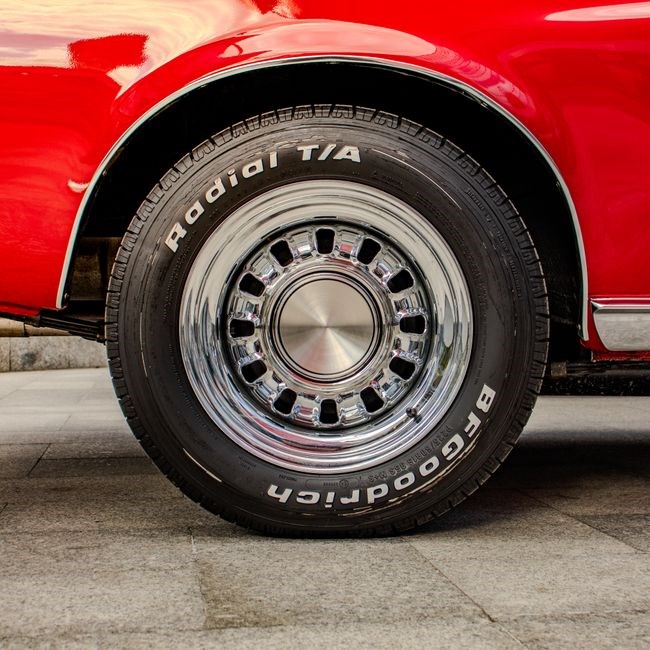
Torque measures rotational force applied to a fastener, typically expressed in Newton-meters (Nm) or foot-pounds (ft-lb). One Newton-meter equals the force of one newton applied perpendicularly to a moment arm one meter long. Foot-pounds represent one pound of force acting on a one-foot lever. Understanding these units is critical because vehicle manuals specify exact values; mixing them causes dangerous errors. Clamping force, the actual tension holding the wheel, results from torque overcoming thread friction and bolt stretch. The relationship between applied torque and achieved clamp load varies with lubrication, thread condition, and material hardness. A clean, dry thread requires different torque than a lubricated one to achieve the same preload. Torque angle, an advanced method, tightens a fastener to a base torque then rotates it a specific number of degrees, minimizing friction variables. Mastering these fundamentals ensures accurate application and effectively prevents potential component damage during wheel installation.

Understanding Torque Specifications
Understanding torque specifications involves interpreting manufacturer guidelines, torque charts, and recommended values to ensure proper wheel installation and safety for performance, vehicle longevity, and compliance with safety regulations.
Manufacturer Recommendations
Manufacturer recommendations serve as the primary reference for determining the correct wheel torque for any specific vehicle. Each automaker publishes precise torque values in the owner’s manual, service bulletins, and official online resources, reflecting extensive testing under varied driving conditions. These figures consider factors such as wheel size, lug‑nut material, hub design, and suspension geometry, ensuring that the fastening force neither exceeds nor falls short of optimal limits. Following the exact specifications helps prevent wheel‑nut failure, uneven brake rotor wear, and stress on wheel bearings. When multiple wheel options are available—such as alloy versus steel rims—manufacturers often provide separate torque tables for each configuration. It is essential to verify the recommended unit (foot‑pounds or Newton‑meters) and to use a calibrated torque wrench that can accurately achieve the stated value. Ignoring these guidelines can compromise safety, vehicle handling, and warranty coverage.
Torque Charts Overview
Torque charts provide a visual representation of recommended tightening forces for various wheel and lug configurations. Typically organized by wheel diameter, bolt pattern, and lug material, these tables list values in both foot‑pounds and Newton‑meters. They allow technicians to quickly reference the correct torque without consulting multiple manuals. Many charts also indicate a range—minimum and maximum—reflecting acceptable tolerances. Some manufacturers include additional columns for special conditions, such as high‑performance tires or aftermarket components. By comparing your vehicle’s specifications to the chart, you can verify that the applied torque aligns with industry standards. Proper interpretation of these charts is essential for maintaining wheel integrity, preventing premature wear, and ensuring safe operation. Always cross‑check the chart against the vehicle’s service guide before applying torque. These charts are often updated annually to reflect changes in materials and safety regulations, ensuring continued compliance today.
Interpreting Torque Values

Interpreting torque values involves understanding both the numerical figure and its practical application. The listed figure represents the ideal force needed to secure a lug nut without causing damage. A value too low may leave the wheel loose, while a value too high can strip threads or deform the wheel hub. Manufacturers often provide a tolerance range; staying within this band ensures safety and longevity. Additionally, consider the wheel’s material—steel and aluminum respond differently to torque, affecting the required force. Environmental factors, such as temperature and vibration, can also influence the effective torque. When applying torque, use a calibrated wrench to avoid misreading. Record the applied value for future reference, and compare it against the chart’s recommendation before proceeding. Proper interpretation safeguards vehicle integrity and driver confidence. Always double-check with a torque gauge and follow the manufacturer’s service manual for precise guidance today.
Tools for Accurate Torque Application
Accurate torque requires reliable tools, proper calibration, and regular maintenance. Selecting quality torque wrenches, verifying settings, and using supportive accessories ensures consistent, safe wheel fastening for every vehicle.
Torque Wrench Types
Torque wrenches are available in several designs, each suited to wheel‑fastening needs. The beam wrench offers a simple linear scale, unlimited durability, and no moving parts, but requires careful eye alignment for accuracy. Click‑type wrenches dominate workshops; they emit an audible and tactile click at the preset torque, allowing one‑handed operation and quick adjustments, though periodic calibration is essential to maintain precision. Dial‑indicated models feature a rotating dial that continuously displays torque, providing real‑time feedback and fine‑tuning capability, yet they are bulkier and costlier. Digital wrenches incorporate electronic sensors and LCD screens, delivering precise readings, data storage, and audible alerts; they depend on batteries and can be sensitive to harsh conditions. Pneumatic and hydraulic variants supply high torque for heavy‑duty applications, requiring external power and maintenance. Choosing the right type depends on vehicle requirements, budget, and the mechanic’s preferred workflow.
Calibration and Maintenance
Regular calibration guarantees that a torque wrench delivers the torque values printed on its dial, protecting wheel integrity and preventing failures. Manufacturers typically recommend verification every 5,000 Nm of use or annually for shops, but digital models may require checks. Calibration involves comparing the wrench’s output against a reference device, adjusting the internal spring or sensor until the displayed torque matches the standard within ±3 % tolerance. After each calibration, record the date, technician, and results in a maintenance log. Proper storage also preserves accuracy; keep wrench in its case, avoid exposure to temperatures, moisture, or heavy impacts. Before each use, inspect the handle and socket for wear, ensure the scale is legible, and verify that lock‑nut is secure. Periodic maintenance, regularly, such as cleaning debris from ratchet mechanism and lubricating moving parts with accurate oil, extends optimal life and maintains performance.
Using a Torque Angle Gauge
Torque angle gauges enable precise measurement of rotational degrees applied to wheel lug nuts after achieving the target torque. The gauge attaches to the nut or wrench, displaying degrees of rotation. After initial torque, the technician turns the nut a specified number of degrees—commonly 30° to 90°—to secure uniform preload. This technique eliminates variations caused by hand‑tightening or uneven torque distribution. The gauge’s digital readout provides instant feedback, ensuring the final angle matches manufacturer specifications. Proper use requires calibrating the gauge itself, checking its zero point before each job. When applying the gauge, maintain a steady, straight motion to avoid cross‑threading. Record the angle value for future reference, especially when re‑torquing during maintenance. Using a torque angle gauge enhances safety, prolongs wheel life, and guarantees consistent performance across all wheels. It also helps meet regulatory compliance and reduces warranty disputes.

Step‑by‑Step Torque Procedure
Follow a systematic process: inspect wheel, clean threads, position lug nuts, apply specified torque in stages, verify angle, re‑check, then safely lower vehicle and before driving off again.
Preparation and Safety
Before tightening wheel lug nuts, ensure the vehicle is on a flat, stable surface and the parking brake is fully engaged. Use wheel chocks on the opposite side to prevent movement. Verify that the tire is correctly mounted and the hub surface is clean, free of debris, rust, or old lubricant that could affect torque accuracy. Inspect each lug nut for damage, wear, or corrosion; replace any compromised fasteners. Wear appropriate personal protective equipment, such as safety glasses and gloves, to guard against sudden bolt release or debris. Confirm that the correct torque wrench is calibrated and set to the manufacturer‑specified value for the vehicle. Keep the work area well‑lit and free of distractions, and have a fire‑extinguisher nearby in case of hydraulic fluid leaks. Finally, review the vehicle’s service manual to double‑check any model‑specific preparation steps before proceeding safely.
Wheel Removal and Inspection
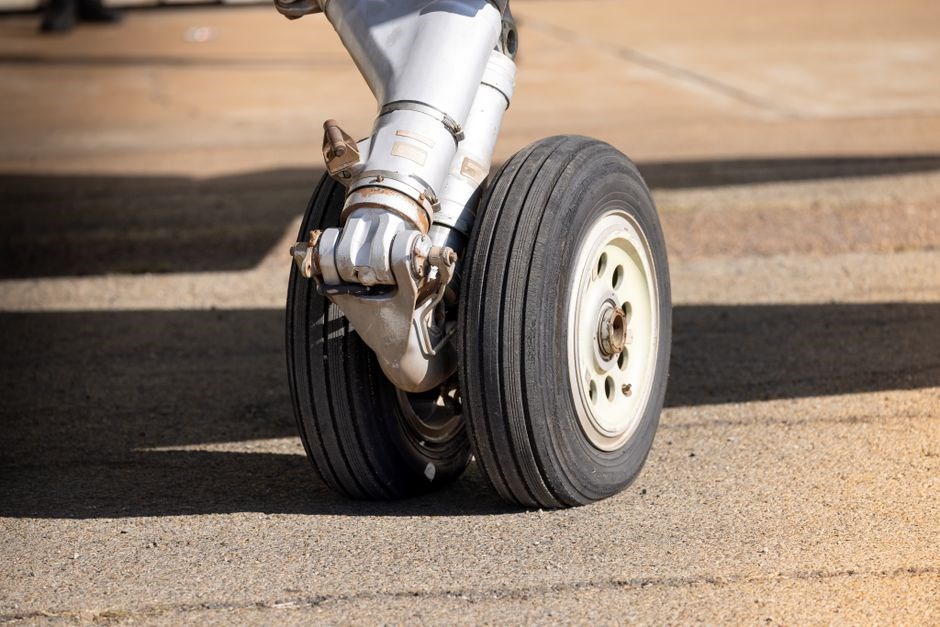
To remove a wheel, first loosen lug nuts slightly while the vehicle is still on the jack. Use a breaker bar or torque wrench set to a lower value than the final torque. Once nuts are loose, lift the vehicle with a jack and secure with jack stands. Carefully slide the wheel off the hub, checking for any damage to the rim or hub. Inspect the wheel for cracks, dents, or uneven wear; note any irregularities. Examine the hub surface for corrosion or debris that could impede proper seating. Verify that the lug nut threads are clean and free of galling. Check the wheel’s alignment marks against the vehicle’s reference points. Record any findings for future reference before reinstalling the wheel. Inspect tread and bead is seated on rim. The wheel lug nut matches the hub’s bolt pattern before reinstallation.
Applying Torque in Stages
Begin by tightening all lug nuts to a low value, typically 20–30% of the final torque. This ensures the wheel sits evenly on the hub. Next, tighten each nut in a star or criss‑cross pattern, gradually increasing torque to 50–60% of the target. This step distributes clamping force uniformly, preventing uneven wheel seating. Finally, apply the remaining torque in the same pattern, reaching the manufacturer’s specified value. Use a calibrated torque wrench and verify each nut’s torque reading before moving to the next. If a torque angle gauge is available, incorporate it at the final stage to confirm the correct rotational angle. After all nuts are torqued, double‑check the sequence and values. This staged approach minimizes wheel wobble, ensures proper load distribution, and enhances safety during driving. and Repeat this procedure whenever wheels are replaced or after significant mileage period.
Final Verification
After completing staged tightening, perform a final verification to confirm wheel security. Re‑check each lug nut with a calibrated torque wrench, ensuring readings match the manufacturer’s target. Use a consistent sequence, typically star or cross, to avoid uneven load. If a torque angle gauge was employed, verify that the final angle aligns with specifications. Inspect the wheel for any visible play or wobble; a properly torqued wheel should feel firm. Document each nut’s torque value in a log for future reference. If any nut falls below the required torque, retighten immediately. Finally, drive a short test distance, then re‑inspect after a few miles to confirm no loosening has occurred. This systematic verification guarantees wheel stability, safety, and longevity during everyday use. Adhering to these steps ensures compliance with safety standards and prolongs wheel assembly lifespan, reducing costs and enhancing performance.

Common Mistakes and How to Avoid Them
Many overlook proper sequence, use incorrect tools, ignore torque specifications, skip re‑checking, and apply uneven pressure, leading to unsafe wheels. Follow guidelines, verify torque, and maintain tools regularly.
Over‑Tightening Risks
Applying excessive force to lug nuts creates dangerous stress concentrations within the wheel assembly. Stretched studs lose their designed elasticity, significantly increasing the likelihood of sudden fracture during dynamic driving loads. Distorted brake rotors often result from uneven clamping pressure, causing pulsation felt through the pedal and reduced stopping efficiency. Aluminum alloy wheels are particularly susceptible to cracking around the lug seats when subjected to forces beyond manufacturer limits. Damaged threads on both studs and nuts compromise future retention integrity, making proper torque impossible to achieve later. Warped mounting faces prevent the wheel from seating flush against the hub, inducing vibration and accelerated bearing wear. Over-torquing also complicates roadside tire changes, as seized fasteners may require specialized extraction tools or professional assistance. Always utilize a calibrated torque wrench set to the exact specification listed in the owner’s manual to prevent these costly and hazardous mechanical failures effectively.
Under‑Tightening Consequences
Under‑tightening lug nuts compromises wheel stability, allowing the wheel to shift under load. This movement generates uneven braking forces, leading to premature brake pad wear and potential brake fade. When the wheel is not fully seated, the hub’s bearing surface experiences irregular contact, accelerating bearing wear and potentially causing a loss of clamping force during temperature changes or road shocks. In extreme cases, a loose wheel can detach while driving, posing a severe safety hazard to the driver and others. Additionally, under‑torqued fasteners fail to maintain the correct preload on the wheel studs, resulting in a loss of clamping force during temperature changes or road shocks. Regular torque checks mitigate these risks and ensure consistent vehicle performance. Moreover, under‑tightened wheels can produce a noticeable squeal during acceleration, indicating a loss of traction that may affect handling and safety for drivers.
Ignoring Torque Angle
Ignoring the specified torque angle during installation undermines the engineered clamping strategy for critical fasteners. Many modern vehicles utilize torque-to-yield bolts that require an initial torque value followed by a precise angular rotation to achieve optimal bolt stretch. Skipping this angular step leaves the fastener under-preloaded, reducing joint integrity and increasing the likelihood of loosening under cyclic loads. Conversely, exceeding the angle yields the bolt permanently, compromising its elastic recovery and risking sudden fracture during operation. This procedure ensures uniform load distribution across the wheel hub interface, preventing warping and vibration. Technicians must use a calibrated torque angle gauge rather than estimating degrees visually. Failure to follow this two-stage process negates the manufacturer’s safety margin, potentially leading to wheel separation or stud failure. Always consult the service manual for sequence and angle specifications to maintain proper reliability and safety standards.

Special Cases and Adjustments
Special cases demand tailored torque strategies. Performance wheels, aftermarket nuts, and material differences require distinct adjustments, ensuring safety and longevity across diverse automotive scenarios for every vehicle type.
Performance Wheels
Performance wheels, often lighter and more aggressive, demand precise torque to maintain structural integrity and safety. Their reduced mass increases rotational inertia, affecting braking dynamics and tire contact patches. Manufacturers typically specify higher torque values to counteract the lower friction coefficient of lightweight alloys. Over‑tightening can warp rims, while under‑tightening risks wheel detachment during high‑speed maneuvers. It is essential to follow the recommended sequence: tighten in a star pattern, apply initial torque, then perform a secondary pass with a torque angle gauge to achieve the exact 90‑degree rotation. Regular inspection for thread wear, corrosion, and deformation is vital, as performance wheels may experience elevated stresses during aggressive cornering or rapid acceleration. Adhering to these guidelines preserves wheel alignment, reduces vibration, and prolongs the lifespan of both the wheel and the vehicle’s suspension components.
Consistent torque enhances safety during racing sessions.
Aftermarket Lug Nuts
Aftermarket lug nuts vary in seat design, thread pitch, and material composition, requiring careful selection to match specific wheel requirements. Conical, ball, and flat seats must align perfectly with the wheel’s lug holes to ensure proper clamping force distribution. Mismatched seats create point loads that can crack alloy rims or deform steel wheels under stress. Always verify thread engagement depth; insufficient engagement reduces holding power, while excessive length may contact brake components. Many aftermarket sets include locking nuts for theft deterrence, but these often require a unique key socket that can strip if over‑torqued. Use a calibrated torque wrench and follow the manufacturer’s specified value, which may differ from OEM recommendations due to altered friction coefficients. Periodically inspect for corrosion, galling, or rounded edges, replacing damaged nuts immediately to maintain wheel security and prevent catastrophic failure during operation.
Proper fitment guarantees reliable performance under all driving conditions.
Different Materials (Aluminum vs. Steel)
Aluminum wheels are lighter, reducing unsprung mass and improving acceleration, but they have lower tensile strength than steel, requiring precise torque to avoid distortion. Steel wheels are heavier and more robust, tolerating slightly higher torque values without cracking, yet they can develop stress concentrations if over‑tightened. Because aluminum expands more with heat, torque should be applied in two‑stage increments, allowing the material to settle before the final pass. Steel’s lower thermal expansion permits a single‑stage approach in many cases, though a final angle check remains advisable. Always consult the wheel manufacturer’s torque chart, as recommended values often differ by up to fifteen percent between the two alloys. Use a calibrated torque wrench, re‑check after the first 50 miles, and inspect lug nut threads for galling, especially on aluminum where softer metal can seize before driving.

Maintenance and Re‑Torquing Schedule
Re‑torque wheels after 50 miles, then every 6,000 miles or after major impacts. Keep a log, check tire pressure, and use calibrated tools to ensure safety and performance.
When to Re‑Check Torque
Re‑checking wheel torque is critical during specific intervals to maintain clamping force integrity. The most vital check occurs after the first 50 to 100 miles following installation, as settling compresses paint and debris. Subsequent verification should happen at every tire rotation, typically every 5,000 to 7,500 miles, or during routine brake inspections. Always re‑torque after any significant impact, such as hitting a pothole or curb, which can stretch studs or shift the wheel. Before long highway trips or towing heavy loads, confirm specifications to prevent vibration or separation. Seasonal tire swaps between winter and summer sets also mandate a fresh torque sequence. If you notice steering wheel shake, unusual noises, or loose lug indicators, inspect immediately. Never assume factory settings remain permanent; thermal cycling and vibration gradually reduce preload. Adhering to this schedule ensures safety and extends overall component lifespan.
Seasonal Considerations
Seasonal temperature fluctuations directly affect wheel torque values because metal expands in heat and contracts in cold. In summer, higher ambient temperatures can reduce the clamping force of already tightened lug nuts, so it is advisable to verify torque after the vehicle has cooled from a long drive and before loading heavy cargo. Conversely, winter’s low temperatures increase material stiffness, potentially over‑tightening bolts and risking stud fracture; re‑torque after the vehicle warms up to operating temperature. When swapping tires between seasons, treat each wheel as a new installation: clean the hub, inspect studs for corrosion, and apply the manufacturer’s torque specification. Salt and moisture in winter accelerate corrosion, making frequent torque checks essential. Additionally, consider using lubricants compatible with cold weather to ensure consistent torque readings. By adjusting inspection frequency to match seasonal extremes, you maintain safe wheel attachment year‑round.
Record‑Keeping Practices
Maintain a detailed log for every torque event, noting date, vehicle identification, wheel position, torque value, and tool serial number. Use a spreadsheet or dedicated app to store entries chronologically, enabling quick retrieval during audits or warranty claims. Include ambient temperature and any lubricant applied, as these factors influence clamp load. Attach photographs of the torque wrench setting and the wheel hub for visual reference. Schedule periodic reviews of the log to spot trends such as gradual torque loss or recurring over‑tightening. Archive records for at least the vehicle’s service life, and back up digital files to cloud storage. Consistent documentation supports compliance with manufacturer guidelines, simplifies troubleshooting, and provides evidence of proper maintenance for resale or insurance purposes. Regularly export the log to PDF for offline access and share with technicians during scheduled service appointments future reference.
Professional Inspection Options
Certified technicians offer comprehensive wheel torque verification using calibrated equipment traceable to national standards. Dealerships perform inspections during scheduled maintenance, confirming lug nut integrity and stud condition. Independent shops provide mobile services, arriving at your location with digital torque analyzers for real‑time data capture. Specialized tire centers conduct ultrasonic bolt stretch measurements, detecting hidden fatigue before failure occurs. Fleet operators often contract third‑party auditors who generate detailed compliance reports for regulatory records. When selecting a provider, verify ISO 17025 accreditation and request calibration certificates for all tools used. Ask for a written summary including torque values, angle readings, and any corrective actions taken. Professional assessments are essential after accidents, wheel changes, or when unusual vibrations appear. Investing in expert evaluation reduces liability, extends component life, and ensures optimal clamping force under all driving conditions for maximum safety assurance today.